
Lucy from the Drinkable Garden (isn’t that the coolest idea ever?) has been kind enough to give us some instruction on how to grow your own hops.
——————————————————————–
We’re not ones for travel guides and tourist maps so it stands to reason our hop growing adventure is also unplanned and self taught. As home brewers we might just slide into the bottom of the Amateur league, but as hops growers we are so clearly novices, even the squirrels laugh at us. We started our hops journey this year in an attempt to turn our tiny urban oasis into a Drinkable Garden, and have picked up a few Growing Hops 101 Lessons along the way:
- You can’t buy and plant hops whenever you want to – the buying season starts in March/April and is usually done online or via a catalog, or as in our case a local online home-brewers’ bulletin board. Our theory, other than to support the local, little guy, was that a cutting from a plant in a similar climate would increase our chances.
- For both home brew flavoring and gardening reasons it is better to buy several varieties of hops, and a good place to start is with your favorite type of beer. It can take 3-4 different hops to flavor a good home brew IPA and since that’s our brew of choice, we bought 2 Mt Hood, 2 Cascade, a Centennial and a Chinook.
- Prepare to be disappointed with how ugly and stick-like the hops rhizomes look like when they arrive, and to be surprised when they grow at such a phenomenal jack-n-the beanstalk rates as 2ft a week.
- They’re fairly idiot proof as long as you plant them the right way up after the last frost, give them loads of fertile, well drained soil, sunlight and compost.
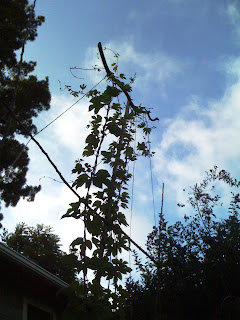
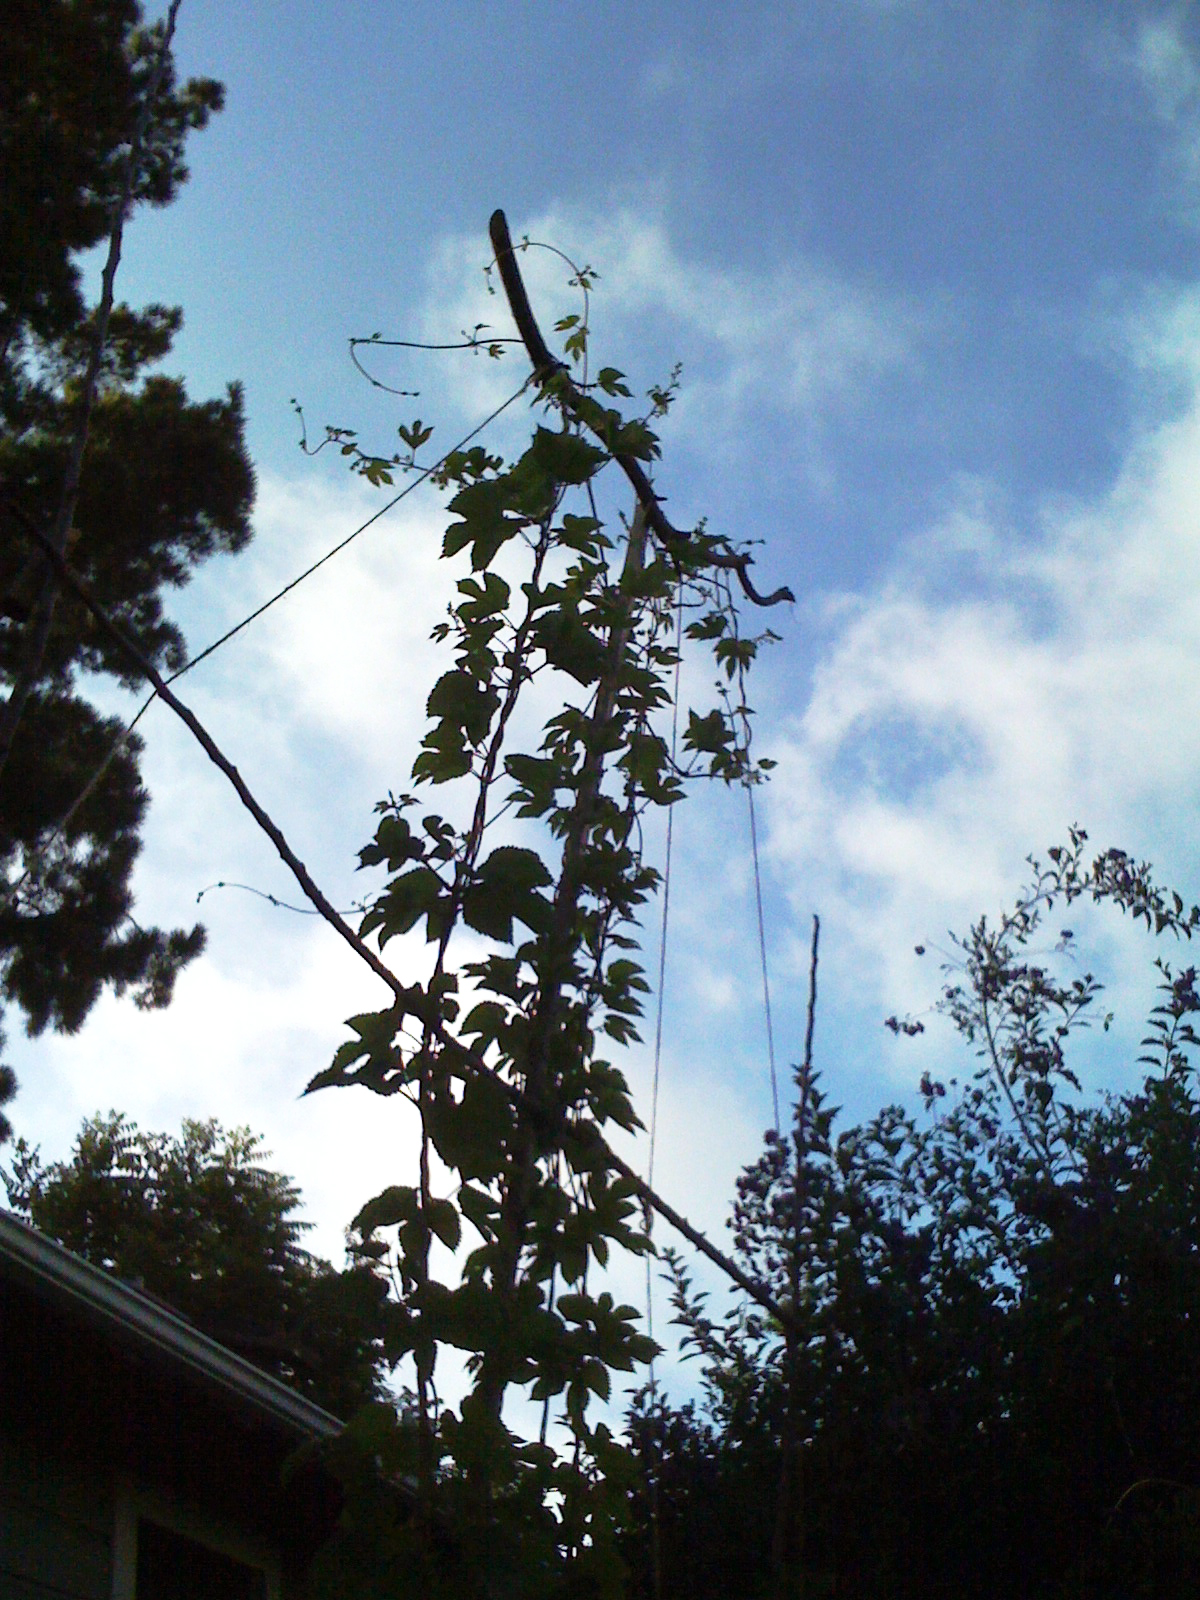
- You don’t have (at least we didn’t) any way of knowing when and which variety will shoot for the stars so try and avoid them being shadowed by other fast growing spring plants (like our tomatoes). One of our Cascades hit 25ft last month while its brother planted 3 ft away is just now hitting 5ft. The Mt Hoods are only just out of the starting blocks.
- You need loads of special twine, plenty of long bamboo stalks and a sturdy ladder. You also need to ask your neighbors if they don’t mind a summer eclipse over their yard or hops bines curling clockwise around their power and phone lines. The promise of future home brew usually helps with this.
- With an expected harvest of 2 ½ pounds of dried hop cones per plant you may need to pre-book some sick leave and stock up on your favorite hangover cure.
Next up, we face the daunting tasks of harvesting, drying and brewing the hops into something non-poisonous and remotely drinkable. Still, we’re not turning back now… we’re on a roll… you could even say we’re in the rhi-zone.

Great post!
We love growing hops (and making beer)! We've grown mostly Willamette and Cascade in the past. We don't have any here (yet – an oversight while we're getting organized), but apparently the leaves are so bitter that our deer should leave them alone. We have plans to run them over the arbors above our retaining walls once they're installed. By the way, spent brewers grains make great chicken treats too 😛
That's awesome. Now, I just need to learn how to brew beer, and then I'll be all set!
Turling, you're in luck! We have a post about how to brew beer: http://www.dogislandfarm.com/2010/05/saturdays-farm-diary-beer.html
And one on hard cider as well: http://www.dogislandfarm.com/2010/05/saturdays-farm-diary-beer.html