
It’s definitely fall here (after all of what, like 17 days of summer? What gives, San Francisco?) and the pears on the tree in the backyard are filling out beautifully and starting to ripen.
Yesterday as I was out feeding the ducks and tending to the garden, I noticed a few pears starting to fall (one barely missing Mr. Dottie, who was mirroring me around the yard to make sure I didn’t do anything crazy like try and take their food, or, you know, breathe – he’s very protective). When the pears start to fall, it’s time to harvest. Well, actually, it’s PAST time, but it’s an excellent indication of the immediacy of the situation.
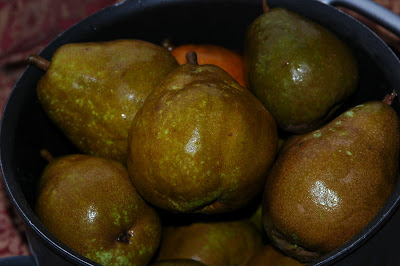
Knowing there was not time to lose, I dropped everything and went to work harvesting the first bucket of pears before I lost any more to the wind, rain, and inevitable decomposition of fresh fruit. When this process begins, it all happens VERY quickly and if I want to have pears to eat (and not just worm-riddled snacks for the chickens to peck at), I have to strike while the iron is hot. Or, that is, while the pears are still on the tree. And there are still plenty on the tree – but at least I’ve started the process.

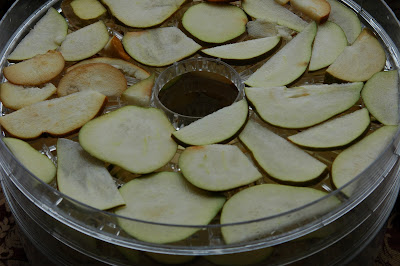
One of the most well-received food items I have ever given away is just straight-up dehydrated pears. I cut them into thin slices, give them a dip in water (that has some lemon juice or citric acid in it to prevent browning), and line them up in my dehydrator trays. In about a day (depending, of course, on the weather, the thickness of the pear slices, and how ripe they are), I have delicious chewy pear chips that are the perfect hiking/trail snack, excellent for julienning and adding to granola or morning oatmeal, and make a lovely addition to a gift basket of canned and baked goods.
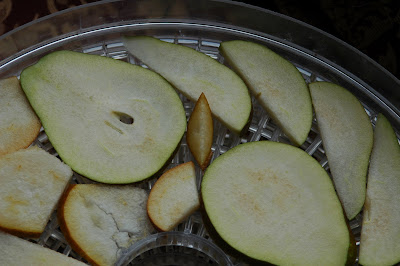
For dehydrating pears, I like to use them a bit under-ripe (this is also good because I can avoid most of the bird/bug problems by picking them off the tree when they are still hard). The pears yesterday were perfect – almost no holes or bruises, very large sweet fruit, and perfectly firm. I pulled out the 4 or 5 largest and ripest from the pile, and proceeded to slice and prep them for dehydration.
Unfortunately (or perhaps fortunately), I prepped too many pears…having forgotten that I had shattered one of my dehydrator trays in a frenzied fit of cleaning about a month ago. What to do with a few cups of semi-ripe sliced pears? They wouldn’t keep long enough to wait for free space on the dehydrator, and besides, there MUST be a recipe I’d wanted to try back when pears were nothing but a lovely dream and the world was filled with cherries and apricots…
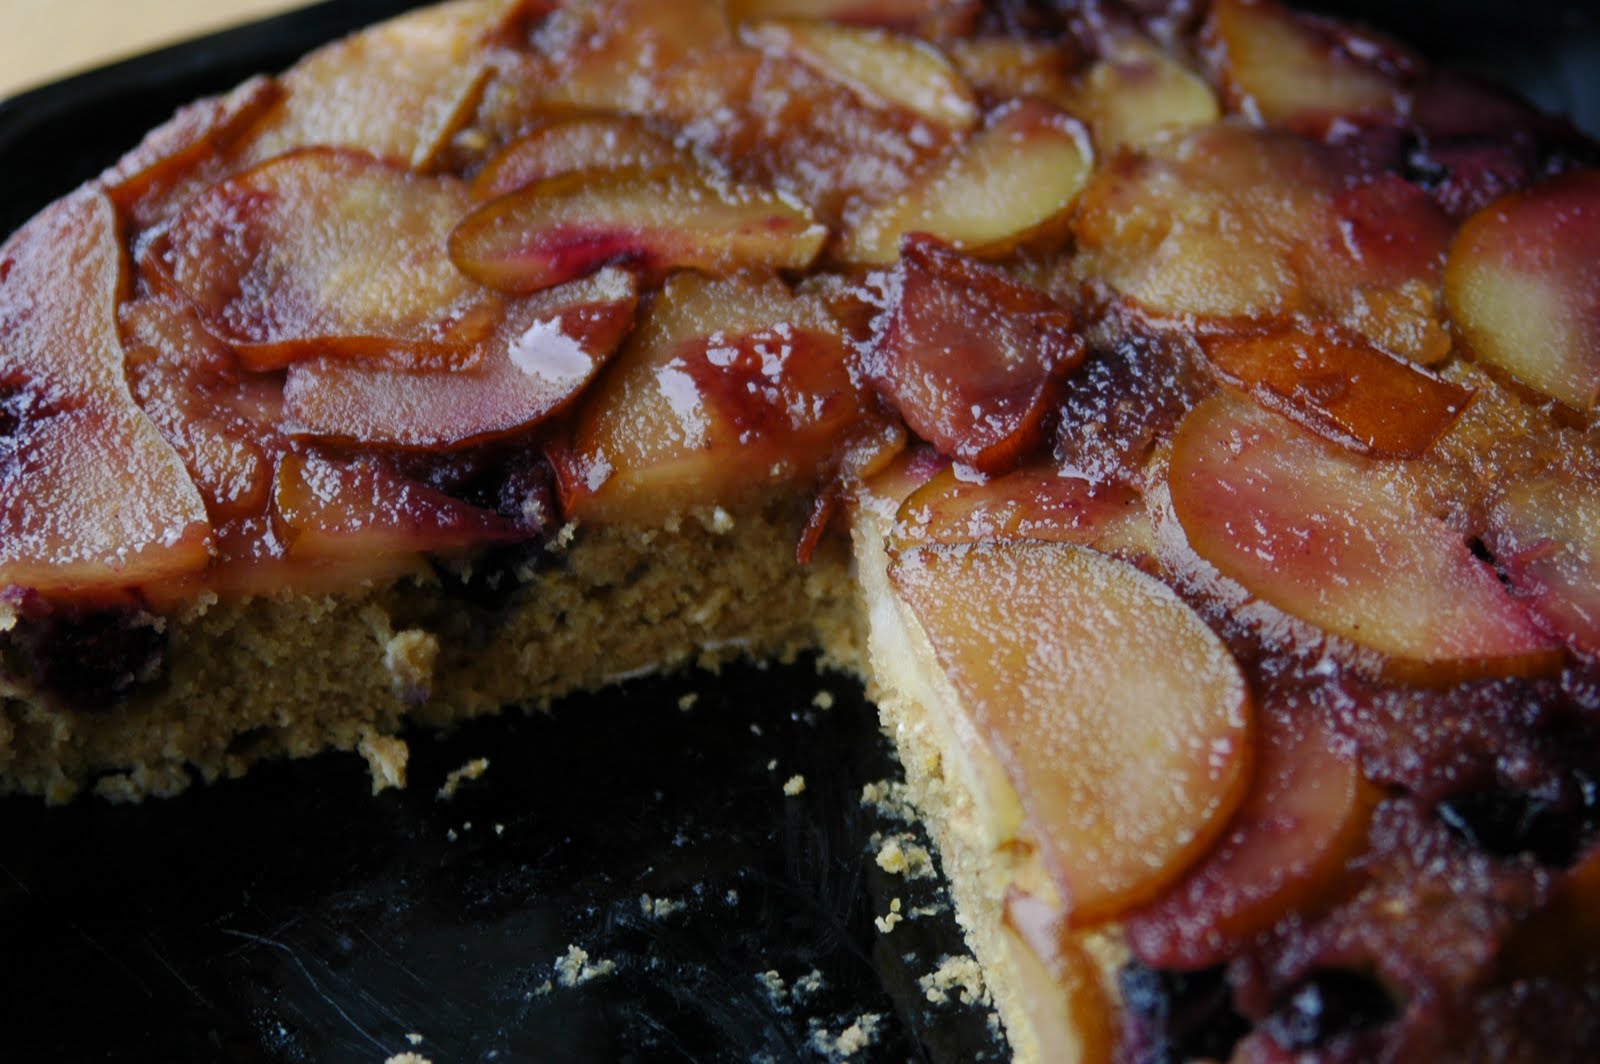
And then it came to me – a skillet cake. A spicy, dense cake cooked over a layer of sauteed fruit, butter, brown sugar, and rum and turned out like a flan onto a serving plate. Everything from start to finish cooked in one pan. Yes, this is what pears were MADE for.
I immediately went to work, looking up several recipes to get basic proportions for the cake batter, and then basically made it up. I knew it would be OK – after all, how do you go wrong with pears in rum?
…but oh, I didn’t know how right I’d go.
(In fact, I was so unsure of this recipe that I didn’t even take pictures of the cooking process. Mea culpa. Hopefully the pears-in-dehydrator images and a couple of mouthwatering pictures of the finished cake will tide you over!)
The resulting cake was moist and dense and spicy, with delightful texture from the corn meal and oats, and a sweet (but not too-sweet) layer of pear and blueberry over the top. A perfect homage to fall (and a great cuddle-up-and-drink-tea kind of snack, too)!
Spiced Pear Skillet Cake
**note: to make this cake, you will need a skillet or other dish that is safe to use on the cook-top AND in the oven. This means no plastic or rubber grips, handles, etc. If you do not have a pan of this kind, you can make the WHOLE thing in the oven in a cake pan – just melt down the fruit mixture in the oven and stir frequently until the sugar syrup starts to bubble and caramelize. Then add the batter and put it back in the oven to cook. All that said, get yourself a good dual-purpose skillet. They are mighty handy.**
for the fruit topping:
2-3 medium pears, ripe but firm
1/2 c berries (I like blueberries or huckleberries here, but I bet cranberries would be good too)
2 tbsp butter
1/2 c brown sugar
2 Tbsp dark rum
for the cake batter:
1 c whole wheat pastry flour
1/2 c coarse-ground cornmeal
1/2 c rolled oats (use the old fashioned kind, not the “quick” ones)
1 Tbsp baking powder
1 tsp cinnamon
1/2 tsp nutmeg
1 tsp powdered ginger
1/2 tsp salt (more, if you use unsalted butter)
1/2 c brown sugar
3 Tbsp butter, melted
1 Tbsp vanilla extract
1/2 – 3/4 c milk (enough to make a thick-but-spreadable batter)
Preheat your oven to 350 degrees.
Wash the pears and cut them into manageable pieces (about 1/2″ to 1/4″ thick, either in wedges or flat slices), removing any seeds, dark spots, and core-bits.
In a large (14″ or so) oven-safe skillet, combine 1/2 c brown sugar with 2 Tbsp of butter and 2 Tbsp of dark rum. Allow this to melt and combine until it begins to bubble wildly and caramelize a bit. Toss in the pears and cook for 2-3 minutes, or until the pears are just starting to soften slightly. Sprinkle in the berries, and remove the pan from the heat.
Combine the flour, oats, corn meal, baking powder, salt, and spices in a large mixing bowl (you can do this one by hand. As much as I love my stand mixer, sometimes it seems silly to bring it out for a simple batter, and this is one of those times). In a separate bowl combine 1/2 c milk, 3 Tbsp butter, vanilla extract, and 1/2 c brown sugar. Combine the wet and dry ingredients and mix until just barely homogeneous. You can add a bit more milk if it seems crumbly or hard to spread out.
Pour this batter over the fruit (still in the skillet), and spread it over the top until the fruit is completely coated with the batter. Depending on the size of your skillet, this might be a fairly thin layer of batter, but don’t worry – it puffs up considerably in the oven.
Bake at 350 degrees for about half an hour or until a toothpick/knife inserted in the center comes out clean (remember if you poke too far down, you’ll get fruit goo on it – don’t mistakenly think this is batter and over-cook your cake – it should be firm, but moist).
Remove the pan to a cooling rack (remember that any skillet handles you are used to using on a stove top will be VERY HOT from being in the oven. Use protection!) – allow the cake to rest for 10 minutes before inverting onto a large serving plate.

Serve this cake warm or cold – it would be lovely with a bit of whipped cream or sweetened creme fraiche, or a dollop of mascarpone cheese and a drizzle of honey, but is amazingly flavorful and rich all on its own.

This looks and sounds delicious! Love the idea of cornmeal, oats and whole wheat flour in the batter. Rock on!
Nice recipe, but I'm sure it could take more than two tablespoons of rum!
Oh, you are welcome to add as much rum as you'd like – amaretto would be delicious, too!
My boyfriend doesn't drink, so I am generally fairly light on booze in recipes, even if it is mostly going to cook off.
Thanks for the tip about not needing to ripen the fruit. I know that’s true with Hachiya persimmons. I was amazed at how well they dehydrated when picked while firm and orange. I have a convection oven and use it to dehydrate fruit on cookie trays. 15