
Radishes.
The favorite crop of the impatient gardener. Reliable, easy, pretty, no-hassle.
Radish seeds were the first I ever pushed into the ground. The first sprouts I coaxed into tiny plants; the first plants I ever raised all the way to harvest. A bunch of radishes always looked so impressive: I GREW these. In my GARDEN.
Sadly, though, I have never been much for eating radishes. Sure, I love daikon, and I love turnips and parsnips and carrots and beets and all sorts of other things that grow in the ground. But for some reason, red radishes have never done it for me. Even the fancy “watermelon” and “french breakfast” radishes. They were just never something I liked.
And yet for years and years I’ve planted them, thinking “this year it will be different”. I am always certain that the excitement of an early spring harvest will overcome my inherent distaste. So I plant them. Because they’re a sure thing. And sure enough, there they are – every year – prefect red globes begging to be harvested. And then I hesitate. I never know what to do with them. I’ll slice a few onto a salad (provided they are outnumbered by other tasty salad-makings like snap peas, carrots, tomatoes, and avocado and slathered in Alanna’s magic nutritional yeast salad dressing), but the rest always become cracked and tough without ever being picked, eventually turning my radish bed into something far more like a wildflower patch than any sort of food-production system. Hey, at least they’re pretty when they bolt.
My last CSA included a beautiful bunch of radishes. Nothing fancy, just very fresh and perfectly round and remarkably crisp. But nearly a week later, they were still in the crisper drawer.
I decided enough was enough.
I have always wanted to find a good method for pickling radishes, as I love pickles as a side-dish (particularly with Asian-style meals) and on veggie sandwiches, and yet I never get around to making them. So I started with the basics: a Chinese chicken salad dressing passed down to my mother from a little tea house in Santa Cruz County that I use regularly in my couscous salads. I added more vinegar to up the acidity and balance the other strong flavors, and tossed in a tiny bit of fresh home-made chili vinegar for added kick.
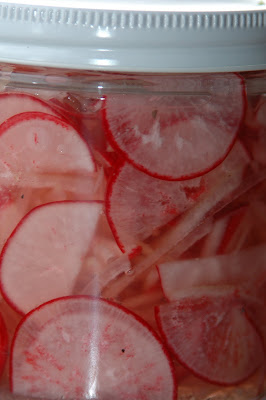
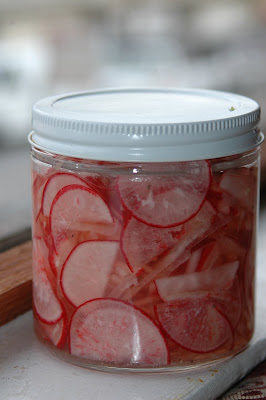
Amazingly, these pickles are just about perfect. They are also very beautiful (the vinegar leaches the bright fuchsia coloring from the radish skins turning everything a vivid pink). Sometimes you don’t have to mess with a good thing, and this is one of those times.
Quick Asian-Style Pickled Radishes
(makes about a pint)
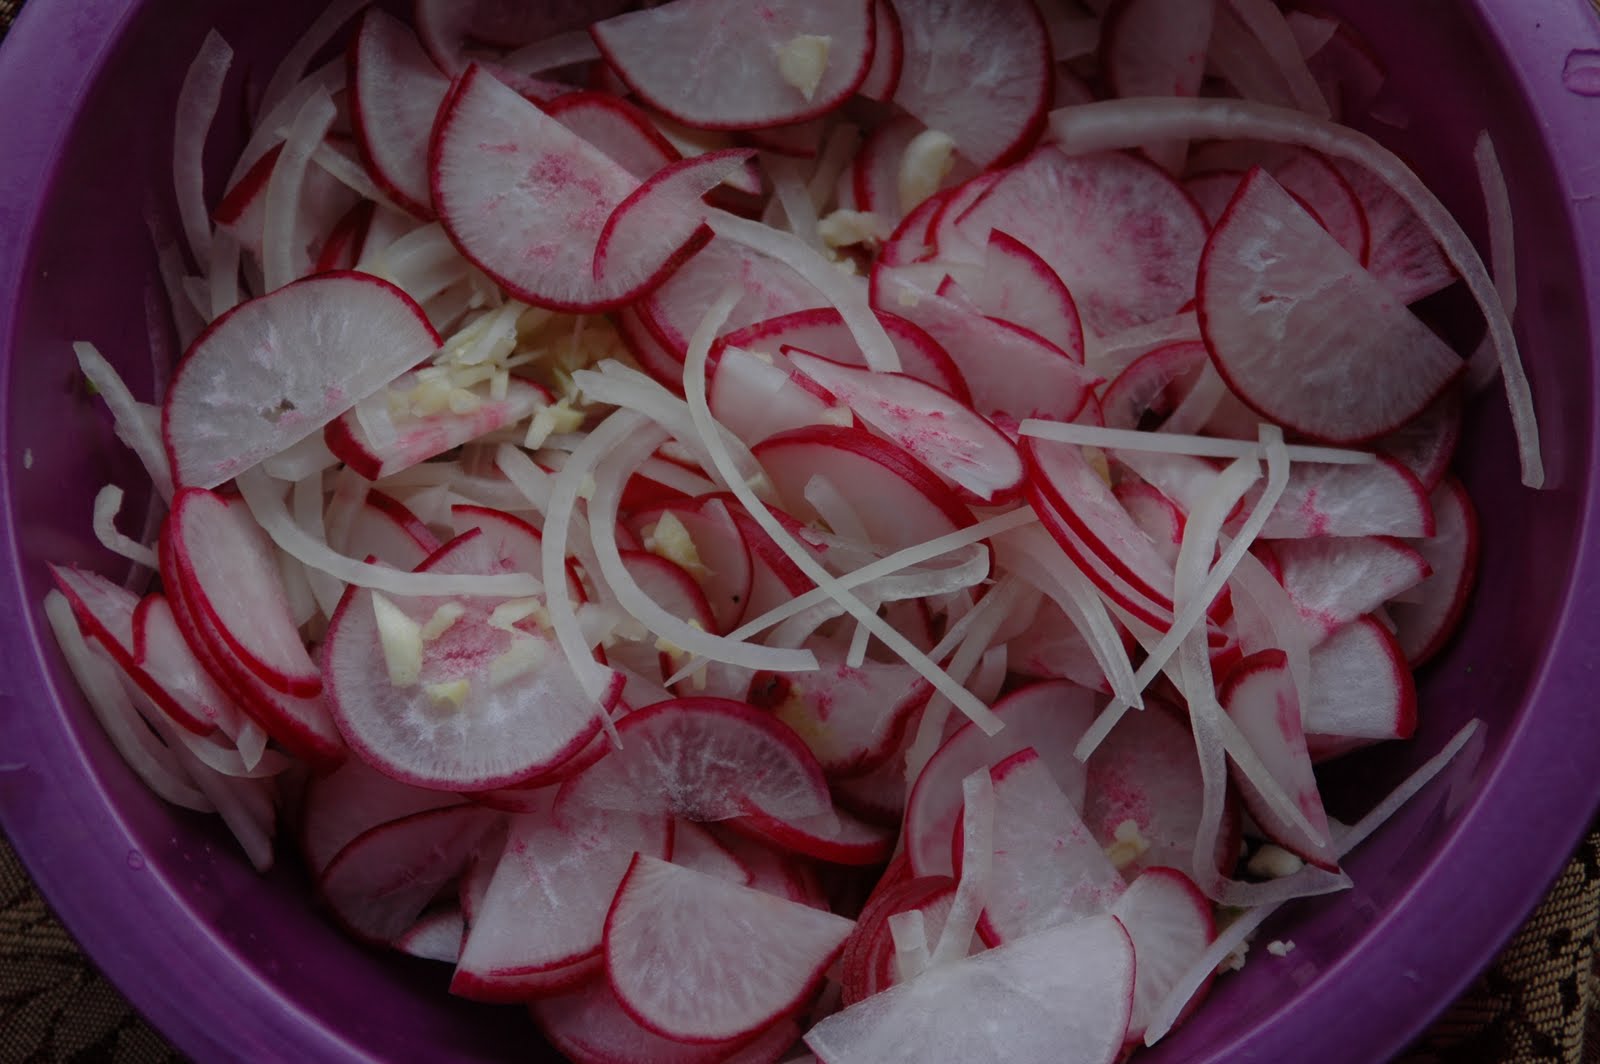
one bunch (about 6 or 8) medium sized red radishes, sliced very thin
1/2 small yellow or white onion, cut into thin half-rounds
2 cloves garlic, minced fine
1 c seasoned rice wine vinegar
2 Tbsp fine sugar (evap cane juice is fine, but will sometimes make the liquid a little darker)
pinch of salt and pepper
1/4 c chili/garlic vinegar (I make my own. You could also just toss in some red pepper flakes, or some slices of fresh hot pepper (I like Thai chilis for this vinegar)
(fill with white vinegar until jar is full to the top)
Using a mandolin slicer or some very careful knife skills (I like working by hand, if I am awake enough and have a good, sharp knife – I find it totally relaxing and meditative to slice veggies sometimes), slice the radishes and onions into rounds or half-rounds. Put them in a bowl. Mince 2 garlic cloves finely and add them to the bowl as well. Toss this mixture together and pack it into a jar (you can use several smaller jars if you want).
Pour in the vinegar, sugar, salt, pepper, chili and any other remaining ingredients (maybe some sesame seeds? some green onion?) and fill with white vinegar (or more seasoned rice wine vinegar) to the top. Place a tight-fitting lid on the jar, and shake until the sugar dissolves completely. Taste the juice and see if it is a good mix of flavors. Remember the onions, garlic, and chili will add flavor as they soak in the vinegar and meld. I like my pickles a bit on the sweet side, here. You can put in less sugar if you like them sour or more salty.
Let these pickles sit in the fridge for a couple of days for best results. During this time, they will take on a beautiful bright pink hue and will soften slightly (they won’t totally lose their crunch, though).
Because they are in vinegar, they will last a long time in the fridge. I wouldn’t try to can them, though, as they will likely just get mushy from the heat. Happy pickling!
Delicious.
**I”ll try to add finished-pickle pictures when they come back out the jar!! This batch isn’t done yet!!**

I love radishes but Tom does not. When I was little they were my favorite vegetable to pull out of my grandfather's garden and munch on. He always grew the white icicles. This year was my first time growing them on my own…since I was 6 years old. I simply like to keep them in a bowl of water in the fridge. Keeps them super crisp.
Gorgeous! Yum.