
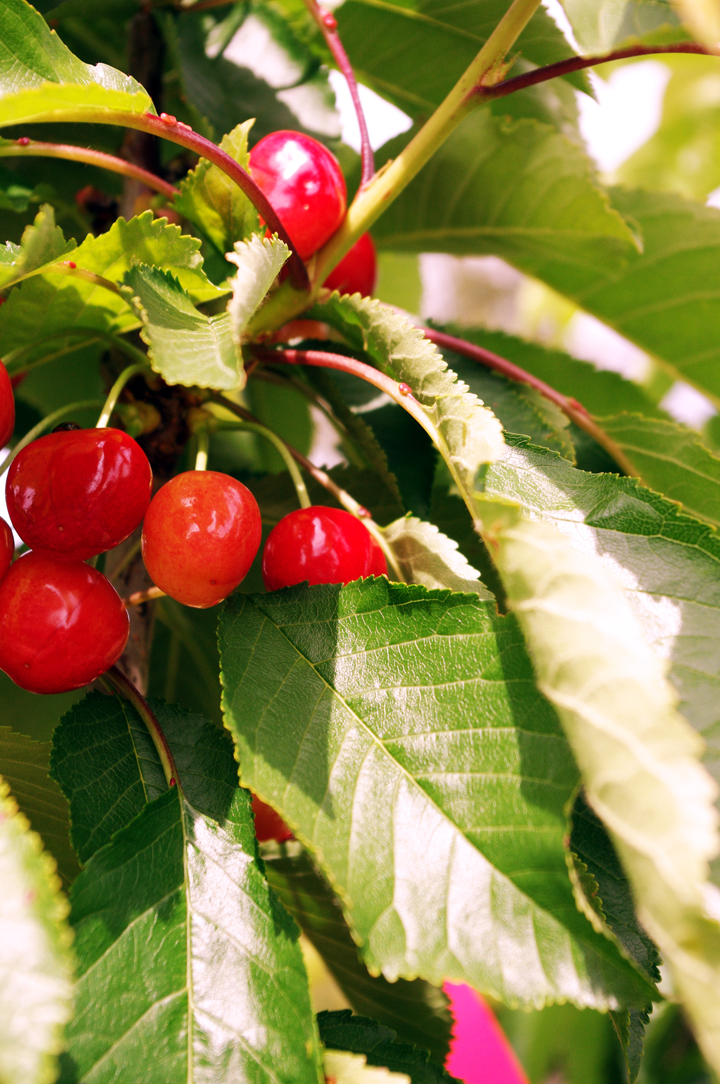
This is a re-post from an entry I did back in April 2009. Since I made beer and cider two weeks ago and posted about how to make beer, I figured I’d re-post the cider recipe too for those that are curious. This current batch is a Cherry-Raspberry cider. I’m really looking forward to trying it. This year we also planted a full size cider apple tree that was grafted from an original Johnny Appleseed tree. Hopefully we can start making our own unfiltered, unpasteurized cider in the future.
————————————————————————————————-
Cider is very easy to make so I’ll go over this process before moving onto beer, which is slightly more complicated.
I haven’t tried making it out of unpasteurized, unfiltered cider yet because I haven’t really had a chance to come across an affordable supply of it. So my directions you can assume is for unfiltered pasteurized cider that you can pick up at just about any grocery store.
For the supplies, you can get most at fermentation supply stores. I really like More Beer (previously known as Beer, Beer, & More Beer) and the have a great online store so you don’t have to live in the SF Bay Area to buy from them.
There are two types of cider that you can try. The first – hard cider – is dry, like wine and is good if you only have access to bottling. The second is draft cider, similar to what you buy at the grocery store (Wyder’s, Fox Barrel, Ace, Woodchuck, Hornsby’s, etc) and is sweeter. I recommend only doing this if you have a cold kegging system (i.e. kegerator) to slow down fermentation or you’re going to serve it out of a keg right away for a party.
Hard Cider directions:
What you will need:
*For the supplies I highly recommend getting a basic brewer kit from More Beer if you plan on trying beer later on*
*You will either need what is written in red or what is in green. You don’t need both.*
Bottle of Star San Sanitizer (4oz)
3/8” Plastic Bottle Filler
Bag of Bottle Caps (1/4lb)
Bottle Capper
24 – 20 oz glass bottles
Kegging kit (see More Beer’s kits)
Funnel
Bottle Brush
Glass Carboy
Plastic Bottling/Sanitation Bucket with Spigot
Airlock
Rubber Stopper with Hole
Hydrometer
Hydrometer Jar
5ft Vinyl Transfer Tubing
Sterile Siphon Starter (Contains Racking Cane with Tubing, Air Filter and Carboy Hood)
5 gallons unfiltered apple/berry/pear/pomegranate/peach/cherry juice or combination of.
(2) Cider Yeast (You only need one if you are going to keg)
4 oz. corn sugar (only needed if you are bottling and not kegging)
Directions:
1. STERILIZE STERILIZE STERILIZE! It’s very important that you sterilize everything that comes into contact with the cider, esp since you don’t heat anything in this process. You don’t want apple cider vinegar. Right now this only includes the carboy, funnel, airlock and stopper.
2. Pour some cider into the hydrometer jar and take the starting specific gravity reading. Make sure to write it somewhere safe because you will need to refer back to it in a few weeks. Do not pour the juice back into the container.
3. Using the funnel, pour the juice into the carboy. Add one container of yeast to the juice (called pitching the yeast). Put water into the airlock up to the line, cap it, put it into the stopper (or carboy hood) and plug the carboy. Shake carboy for approx. 2 minutes to oxygenate juice.
4. Place carboy in a dark, cool place for several weeks. After the first 10 days start taking daily hydrometer readings with the sterile siphon starter (follow instructions for use and sterilize before using). When the hydrometer readings are static it’s time to bottle. This is important because if there is still too much sugar in the cider your bottles may explode after bottling.
5. Using the sterile siphon starter and transfer tubing (Make sure to sterilize first!) start siphoning cider into the sterile plastic bucket (called racking) making sure to not suck up the dead yeast on the bottom of the carboy. As the level gets lower you can gently tilt the carboy to avoid the dead yeast.
6. Boil 1-2 cups of water. Dissolve corn sugar in boiling water. Let cool and add to cider in bucket. Pitch the remaining container of yeast.
7. Sterilize bottles. Hook up transfer tubing and bottle filler to spigot on bucket and start filling bottles. When using the bottle filler, just touch the bottom of the bottle filler to the bottom of the bottle. Fill all the way to the top of the bottle. This will allow the proper head room when you remove the bottle filler from the bottle. Using the bottle capper, add sterilized bottle caps to each filled bottle.
If you have a kegging system, simply fill a sterilized keg with the cider without adding the yeast and corn sugar. Click here for directions on kegging.
8. Store bottles in a dark area for 2 weeks. This allows the cider enough time to go through a secondary fermentation and become carbonated.
Draft Cider Directions:
Draft cider is started and made exactly like kegged Hard Cider except one key difference. You only ferment 4 gallons instead of 5 gallons. After the initial fermentation, rack it into the bucket and add the remaining gallon of unfermented juice. Immediately keg and either serve immediately after carbonating or put keg in your kegerator. We have converted an old mini fridge into a kegerator using a conversion kit.
Drink up!!!
